


News & Blog Articles

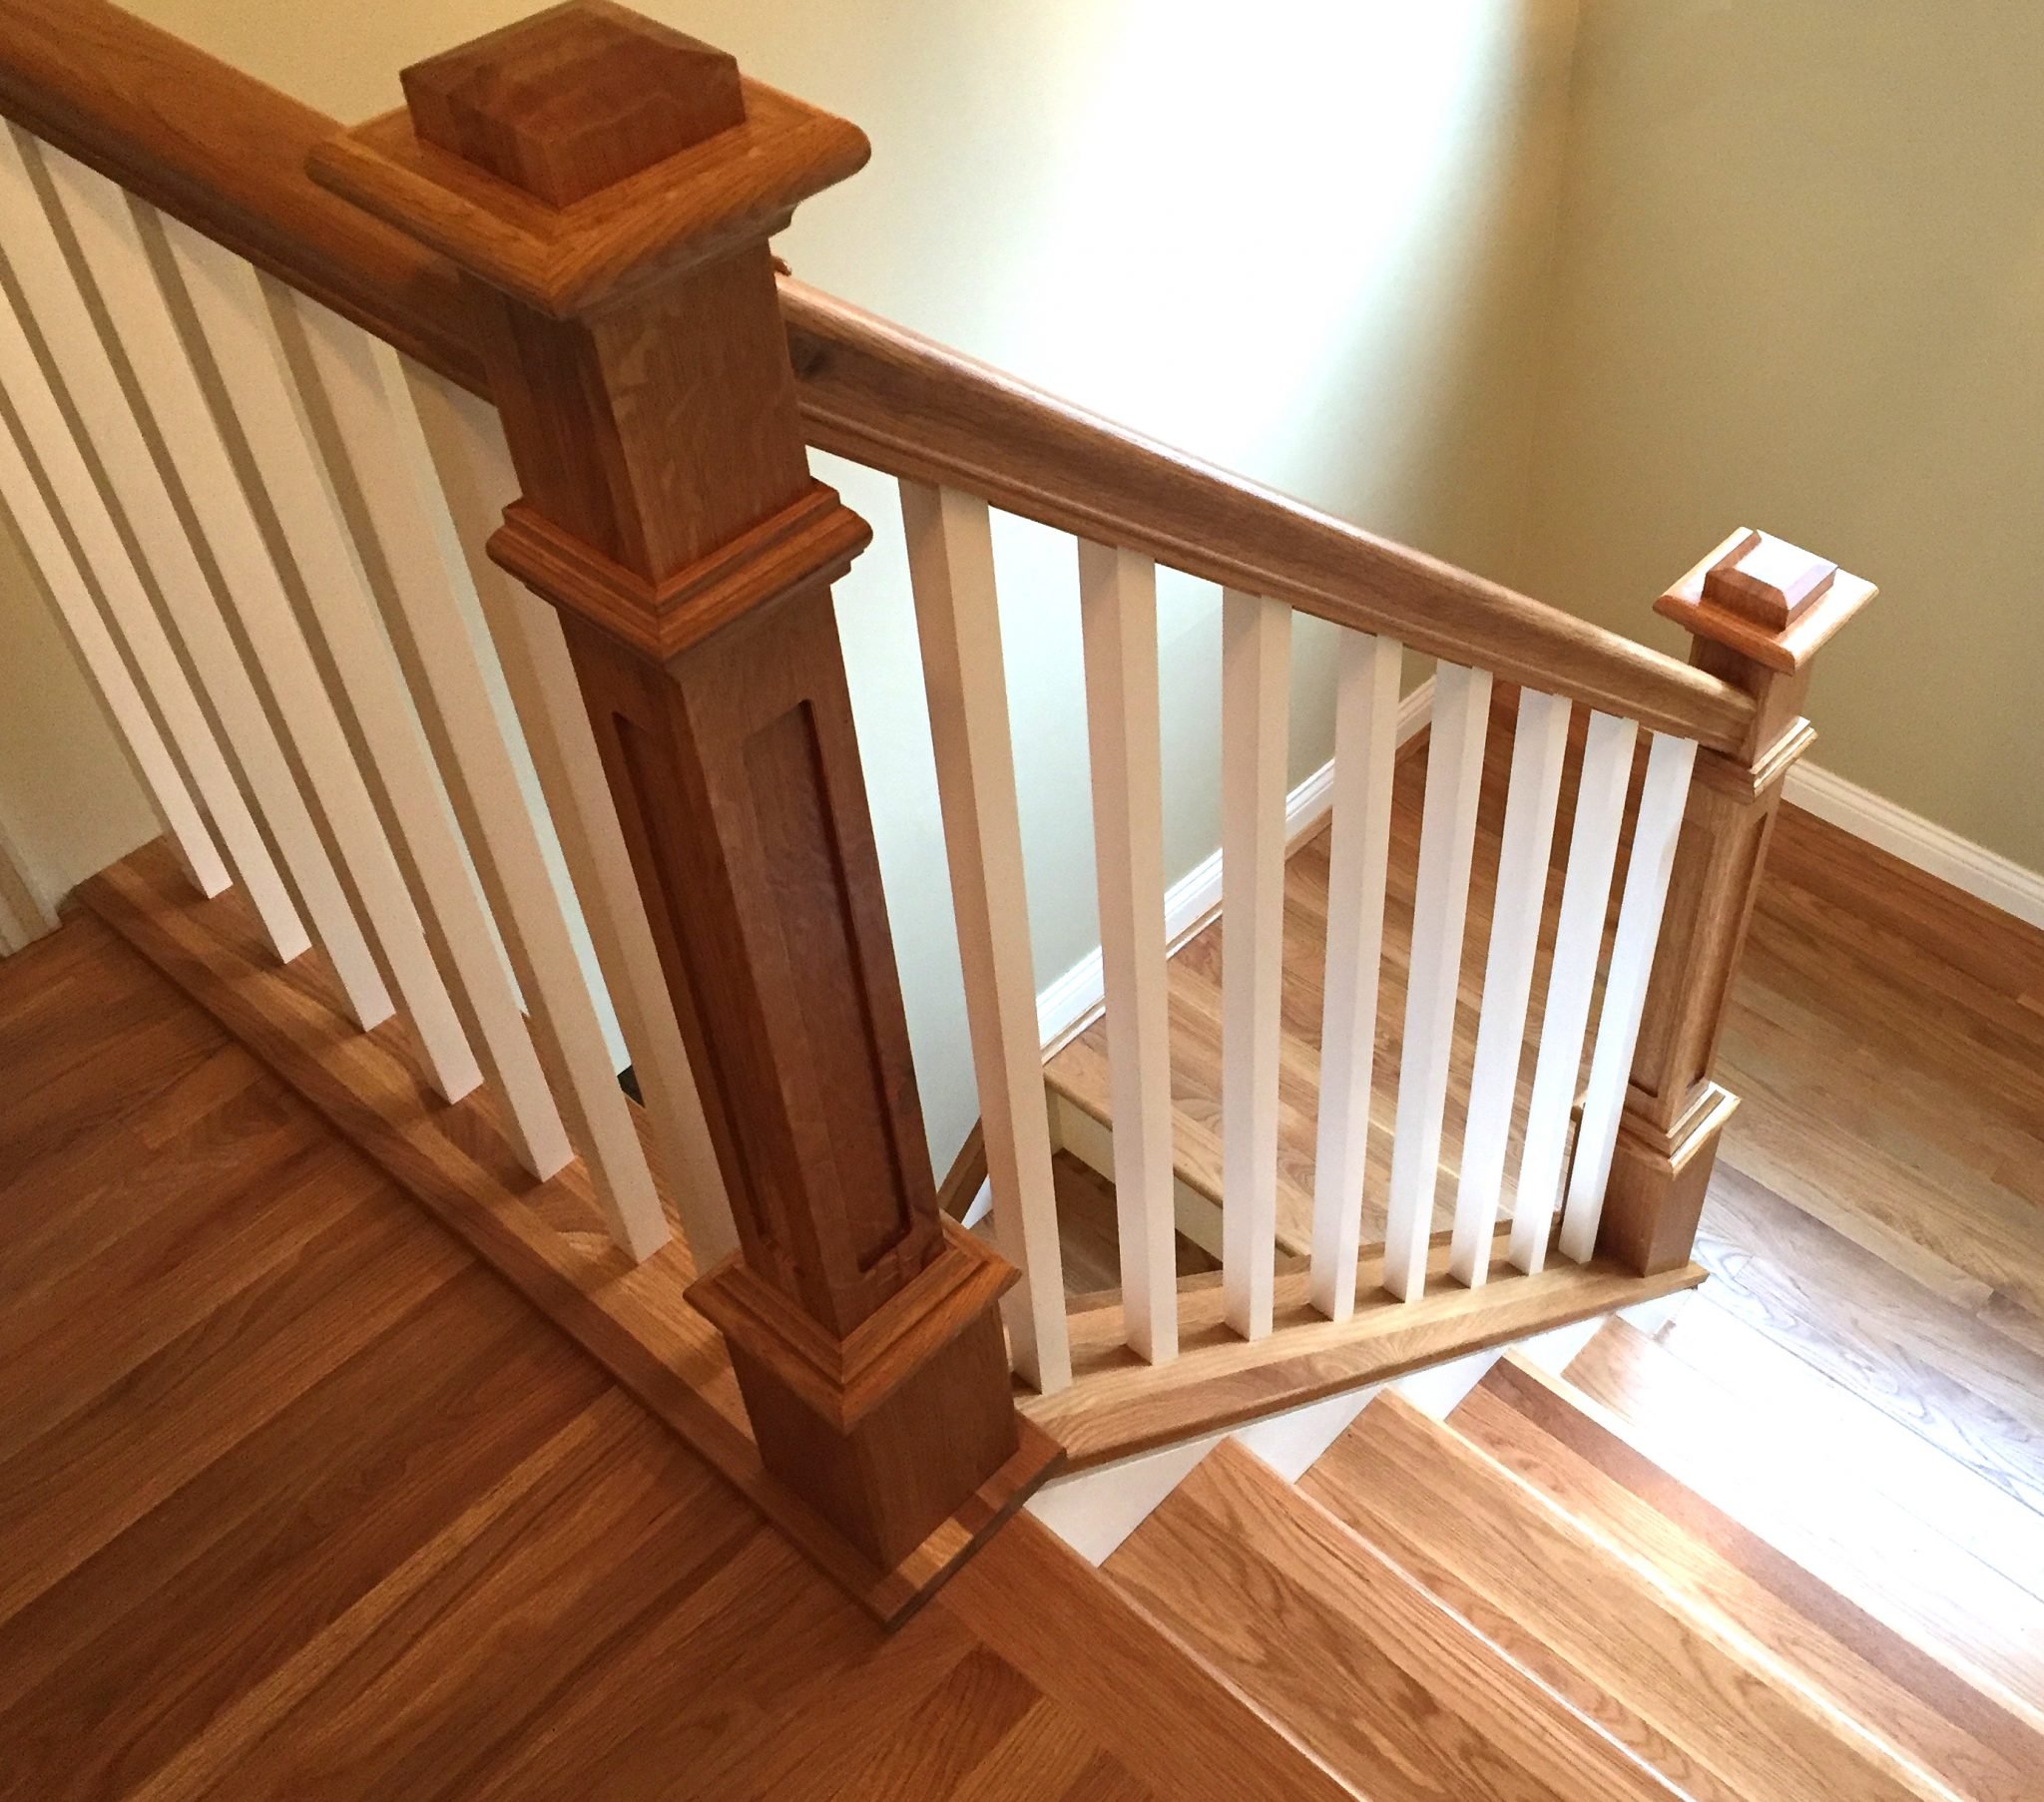
Split Box Newels: How to Transition your Handrail
Blog Category: Stair Design,Stair Part Articles
When designing your stairway, you must consider how your handrail will end once it reaches a wall. For stair designs utilizing Box Newels, a great option for handrail wall transitions […]
Plowed Handrail
Blog Category: Handrail Articles
There are many styles of handrail to choose from when designing your stairway. When you decide on a handrail style, you may feel the urge to order it right away… […]
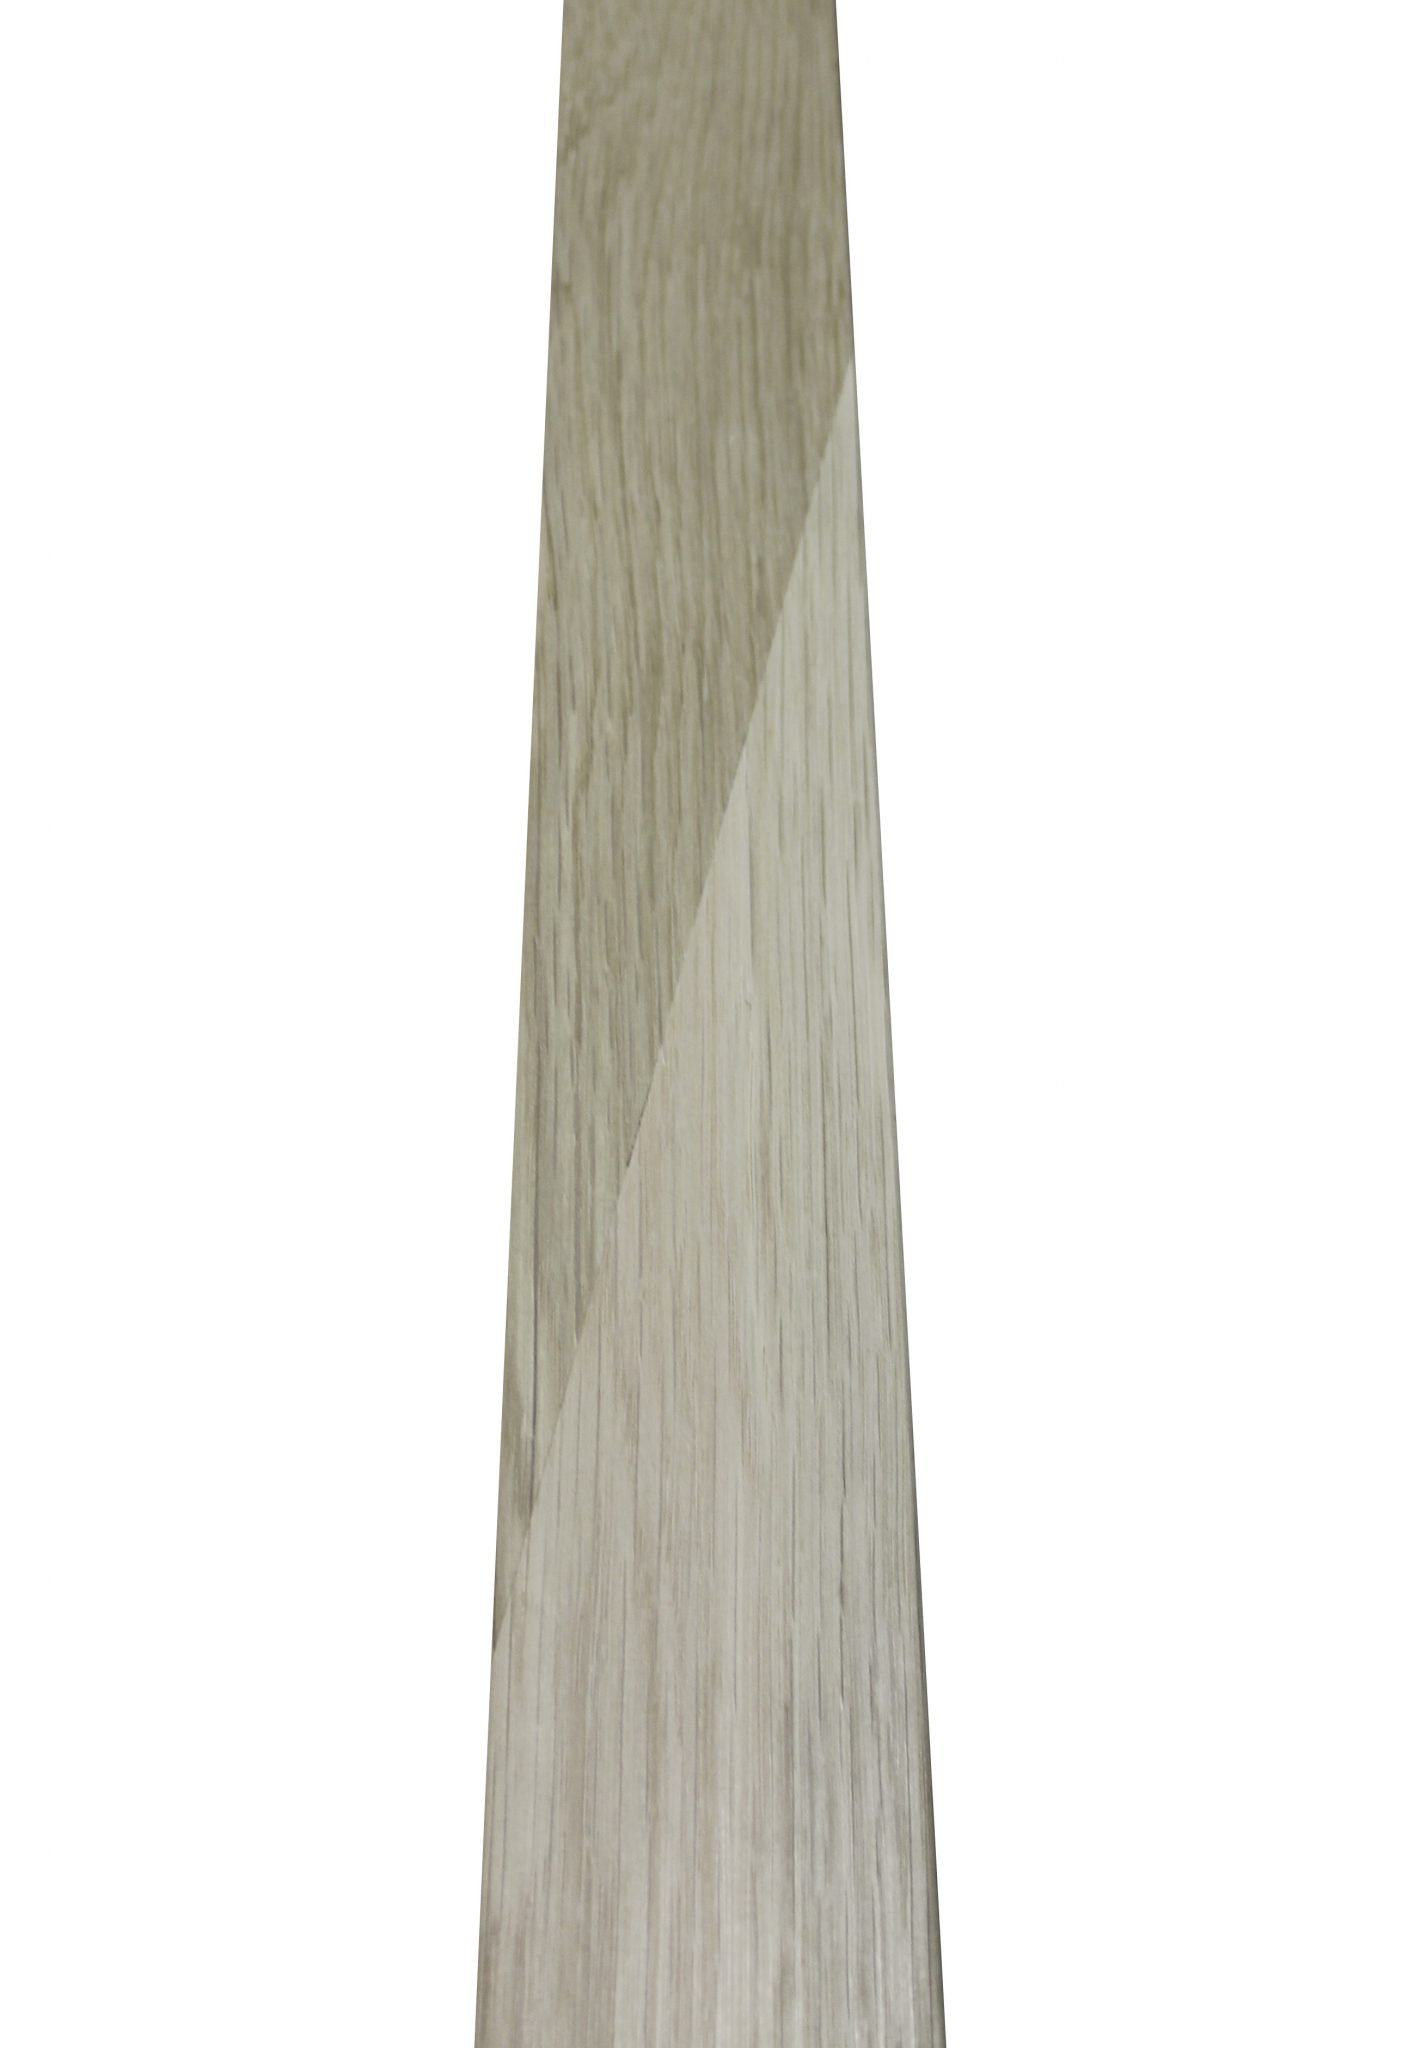
The Strongest Joint for Handrails
Blog Category: Handrail Articles
There are many techniques in the wood-crafting community about how to join two pieces of wood together. Each kind of joint has its strengths and drawbacks, and some are only […]
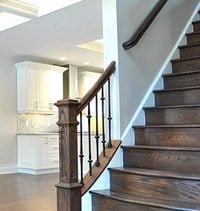
Wall Mounted Handrail Checklist: 5 Things to Keep in Mind
Blog Category: Handrail Articles
Take it Easy Let’s keep it simple. There are many details to keep in mind when designing your Wall Mounted Handrail, but it all comes down to 5 basic decisions. […]

Completed Project Contest Winners Announced!
Blog Category: Cable Railing System Articles,Design Articles,Miscellaneous,Stair Design,Wrought Iron Baluster Articles
This summer’s completed project photo contest has come to a close, and we couldn’t be happier with the results! We received dozens of submissions from all across the country and […]
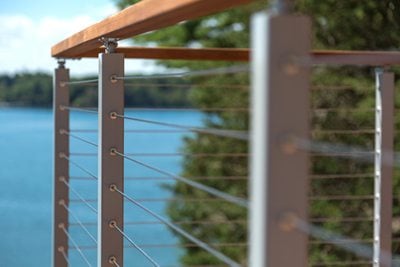
How Viewrail Components Hide Within Your Posts
Blog Category: Cable Railing System Articles,How-To & DIY Articles,Miscellaneous
Viewrail Kits & Components The Viewrail line’s component kits are famous for hiding within your posts, keeping your view clear. Now you can see this process like never before thanks to newly […]

Production Team Member Earns Certification
Blog Category: Cable Railing System Articles,Miscellaneous
Study, Skill, and Certification Graham Morris, a member of StairSupplies’ cable railing production team, recently received ⅜” GMAW, or Gas Metal Arc Welding, Structural Steel certification. Morris, who has dedicated […]
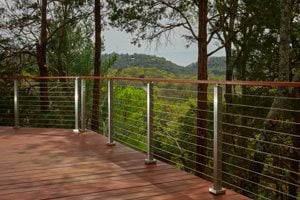
Use Horizontal Railing To Modernize Your Home
Blog Category: Cable Railing System Articles,Design Articles
Horizontal Railing—Rod and Cable Railing Systems With fluid, parallel lines, horizontal railing is the hottest trend in stair and deck railing systems. The Viewrail line from StairSupplies™ is proud to […]

Handrail for Cable Railing
Blog Category: Cable Railing System Articles,Design Articles,Handrail Articles,Miscellaneous
You’ve decided to install a beautiful new cable railing system. You know you want stainless steel posts, but you’re not sure what handrail profile would look best with your project. […]
Viewrail Cable Railing Named IBS Finalist
Blog Category: Cable Railing System Articles,Miscellaneous
Viewrail, the stainless steel cable railing line from StairSupplies™, was recently honored at the Best of IBS Awards held during the International Builders’ Show in Jan. of 2017. According to […]